My little zipper pouch with keychain!

outer fabric
interfacing fabric
lining to make it nice and firm
extra piece of fabric to attach keychain to
keychain
zipper
I cut my fabric in two, now it measures 12 cm long and 6cm high.


Next you need to iron your interlining on your interfacing fabric, and I also iron my nametag on my interfacing.

All ready to sew!
attach your keychain.
 |
| fold |
 |
| turn the tube inside out |
 |
| sew |
Put on your zipper foot and sew in the zipper,
you do this by making a fabric sandwich.
1. Your outer fabric good side up

2. Zipper with teeth down on outer fabric, all nice and even with the edge of the outer fabric.

3. Your interior fabric with good side down, ironed interlining is facing up.

Sew next to the zipper et voila:

One side is done, now, on exactly the same way place your other side and also sew this along the zipper.
 | |||||||||||||
| (other piece of outer fabric good side up, put down your zipper with the already sewn on | pieces) |
It should now look like this:

 | |
| inside |
 |
| outside |
Almost ready!
Trés important, leave open your zipper halfway!!!
 |
Now sew around the perimeterAND DO NOT FORGET to put in your keychain tube between your outer fabric layer!


You leave open a little hole in your interior fabric, this is to turn inside out your creation.

 Turn, turn, turn!
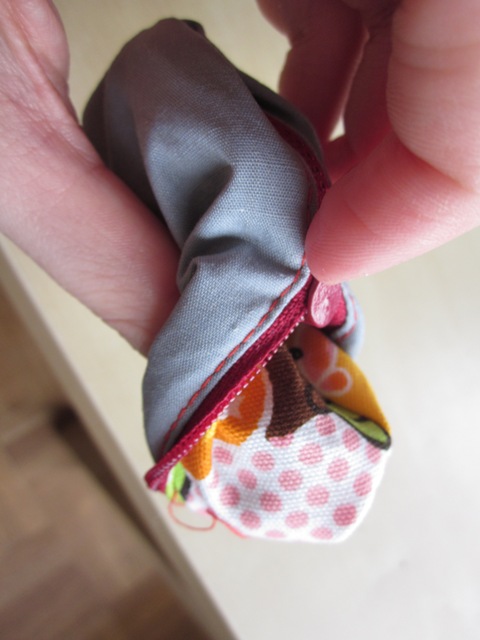
 | |||||
| Put your keychain in: TADAA |
T klinkt bijna te gemakkelijk als je het zo uitlegt ;)
BeantwoordenVerwijderen